
Introduction to the RF Explorer Pro Spectrum Analyzer
FACE for professionals
FACE for MI Resellers
FACE Project Integration
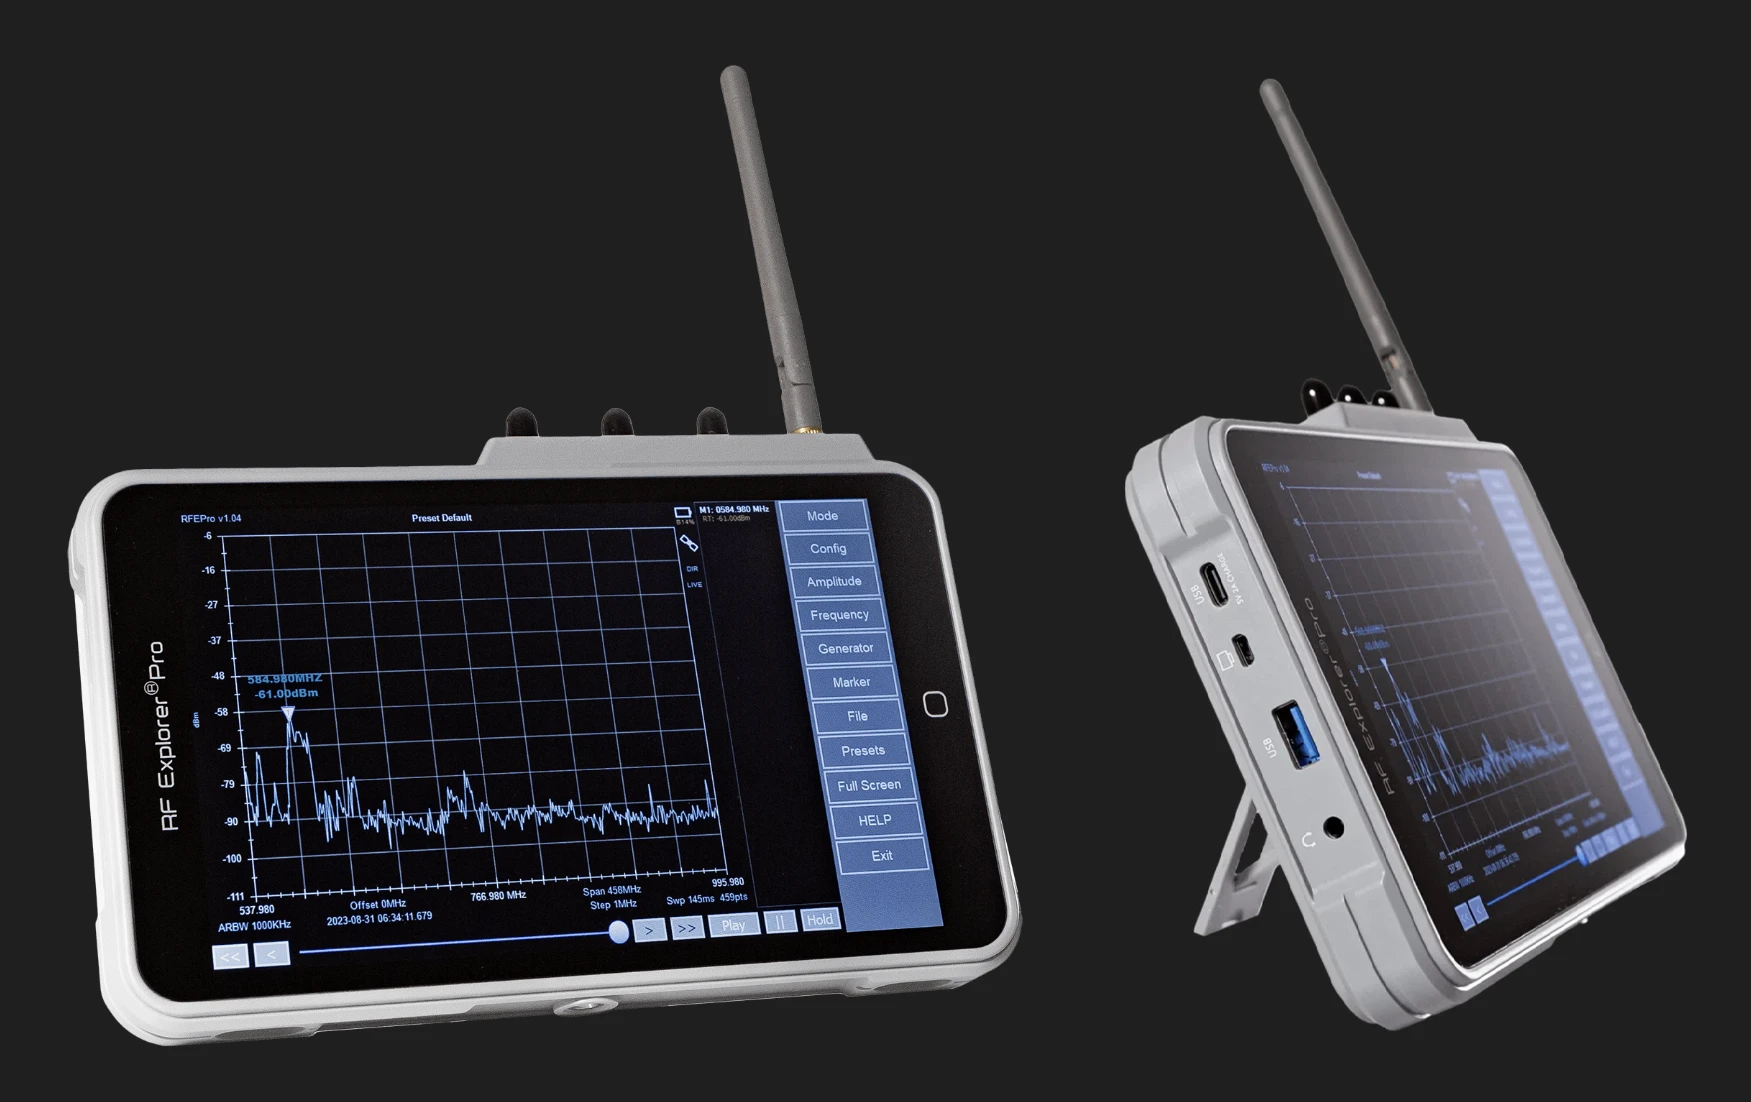
RF spectrum analyzers used to be big and expensive. Hauling one to a site for a survey of the local RF environment was an unpleasant task. Now, when we need on-site spectrum analysis more than ever, RF Venue introduces the RF Explorer Pro, a versatile tool for wireless mic and in-ear monitor applications anywhere. The RF Explorer Pro is a tablet device with a high-resolution color touchscreen, and once you activate the exclusive RF Venue licenses it not only gives you a look at the RF spectrum from 15 MHz up to 6 GHz, but also will help you coordinate wireless mic and IEM frequencies.
Getting started with the RF Explorer Pro
The very first thing you’ll want to do is plug the unit into the charger and charge the battery. The display consumes a lot of battery power, so if you plan to use the RF Explorer Pro for continuous monitoring, you should arrange to keep it powered by the charger, or at least a USB power bank. For spot checks under an hour or two, though, the battery capacity should be fine.
When you turn the RF Explorer Pro on, it will start out in Spectrum Analyzer mode. If this is your first time with a new unit, you’ll need to register the serial number, along with your email address. You’ll promptly receive an email with instructions on downloading and updating the firmware (you’ll need a computer and a USB thumb drive), as well as small data files for activating the two licenses that extend the unit’s range up to 6 GHz and unlock the frequency coordination feature.
Included in the RF Explorer Pro kit are two antennas: one, a small whip suitable for frequencies up through the UHF range, and the other, a blade antenna suitable for frequencies 1 GHz and above. (Yes, the RF Explorer Pro can also help you with WiFi issues at both 2.4 GHz and 5 GHz.)
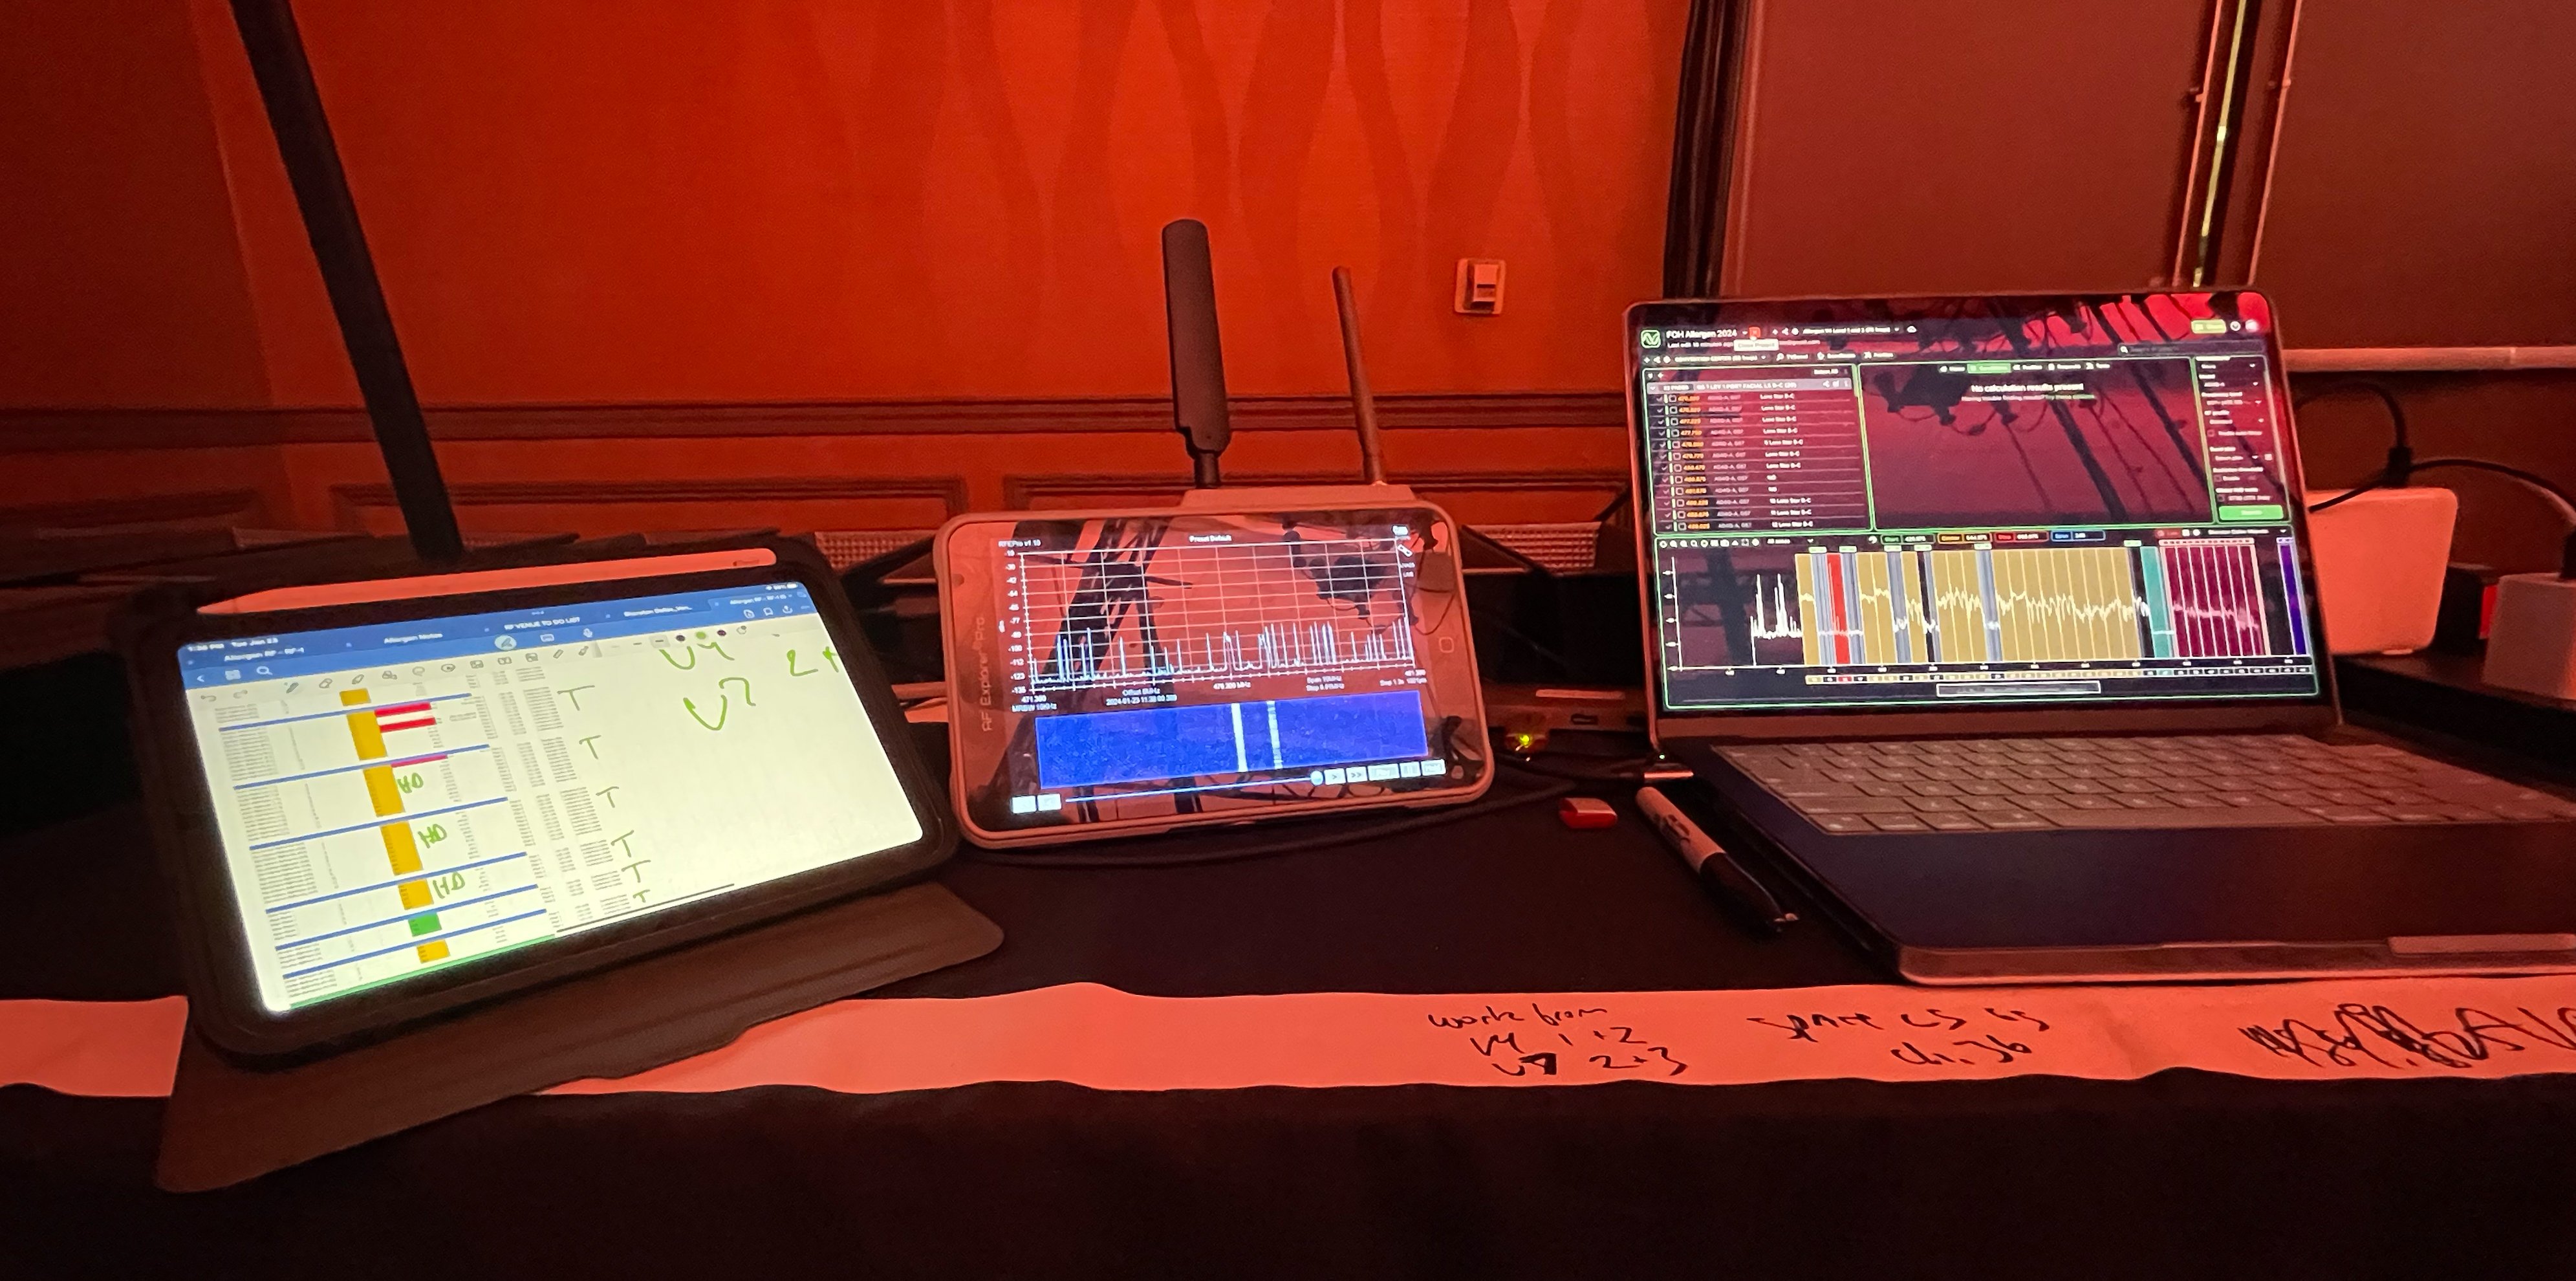
You’ll also want to install a VNC client or viewer app on your computer, such as TightVNC. Most VNC viewers, including TightVNC, are free to download and use. The RF Explorer Pro has a built-in VNC server that allows you to view and operate it on your computer through a LAN, or Ethernet network. The RF Explorer Pro connects easily to a network if you use a USB-to-Ethernet adapter. Once the unit is connected to the network, select System from the right-side menu. This will go to the unit’s Windows operating system; touch Settings (the gear icon), go to Network & Internet, then Status, and look up its IP address. In the VNC client app on your computer, enter the IP address of the RF Explorer Pro. The screen of the RF Explorer Pro will appear in the VNC client app, along with all the touchscreen functions, which you may click with your mouse. This capability is useful for remotely viewing the spectrum, but it’s really great for setting up your parameters in the Frequency Coordination feature, especially entering your Global Inventory data, because you can use your computer keyboard instead of the touchscreen one. You’ll thank me when you start using it.
The Spectrum Analyzer function
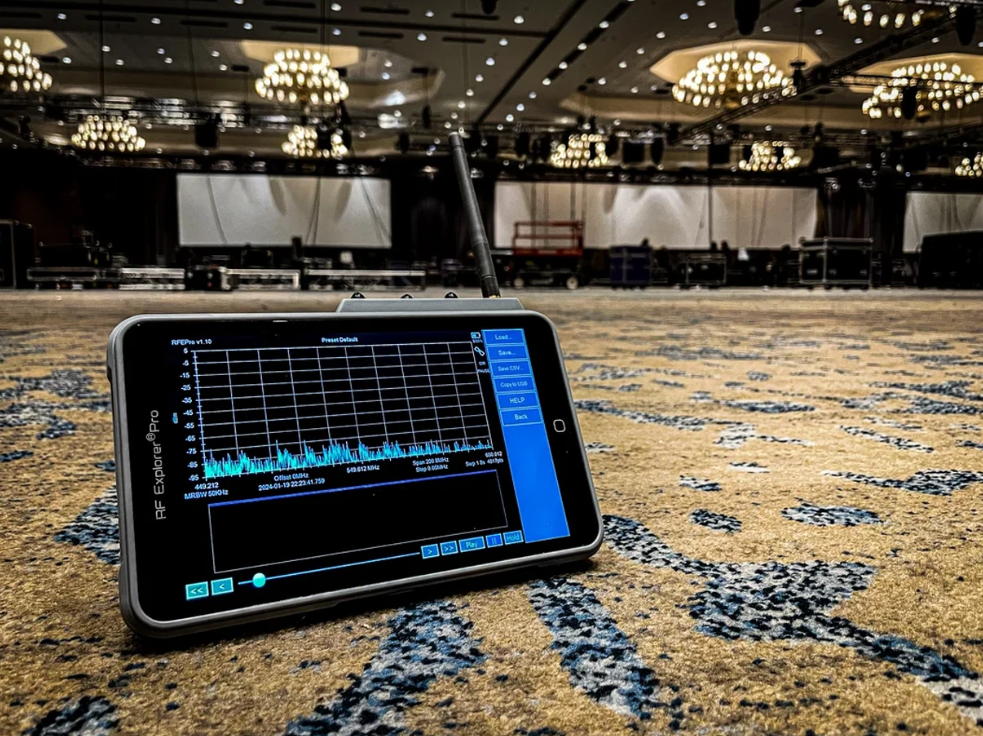
The RF Explorer Pro has nine operating modes: Spectrum Analyzer, Power Channel, WiFi Analyzer, Waterfall, Tracking SNA, Power Meter, Zero Span, Frequency Coordination, and Cable Test. The default mode is Spectrum Analyzer, which gives a graphic representation of the defined RF spectrum. For wireless mics and IEM, you’ll want to cover the 470 to 608 MHz band, but you might also want to see potential interference from just above and below that range as well. On the other hand, if your mics and IEM cover a smaller portion of the band, you may zoom in to view those frequencies in greater detail. You may control the center frequency by dragging a finger on the screen and adjust the range by pinching or spreading on the screen with two fingers, but you may also exercise greater precision by touching Frequency and entering the parameters there.
The upper part of the display will depict the signal strength across the selected frequency range. Directly under the spectrum is a 2D waterfall display that helps you identify consistent signals among the fluctuating values that might otherwise be hard to see.
In many locations, you’ll see raised signal levels that are 8 MHz wide, or possibly multiples of 8 MHz. These are broadcast TV station signals, and broadcasters are licensed protected users. You are not allowed to use frequencies licensed to them, even if the remaining available spectrum for your devices is small. In the Frequency Coordination function, which we’ll discuss later, you can set exclusion zones for these broadcasters.
The modes that most users are likely to need are WiFi Analyzer, Waterfall, Frequency Coordination, and Cable Test (yes, you can check out your coax cables). We’ll get deeper into each one in later blogs. Next up will be Frequency Coordination, because that’s important for implementing any system of multiple wireless mics and/or IEMs. See you next time.
Credits:
Bob Lee - Application engineer and trainer at RF Venue.
TAGS
No items found.